Search This Blog

Wednesday, February 10, 2016

Steampunk Dressform XL Tags in a Box

Hello there, this is Trish Alger. I'm so excited to be a Guest Designer this month for Gypsy Soul Laser Cuts.  Here is my steampunk inspired tags in a box project:


GSLCuts has the most amazing chipboard elements. Great themes, with intricate detail, that are a fabulous springboard for our creativity. 
I'm in love with GSLCuts steampunk selection. Gears, gears, and more gears. Delicate, lacy gear borders, chunky Gear shapes, and lovely Victorian pieces to pair with. 

I needed some feminine gifts. The kind that had laborious value, not cost. In the project I chose, each woman can receive her own extra-large tag (with sentiment) to take home. 

I set the challenge to create my own metal gears out of chipboard, rather than hunt through my metal stash. Other than a few metal brads, I succeeded. I kept my palette limited to brown tones, ivory, black, and rusty gear metallics. 

Let's look through the steps of the tutorial.  You'll find the supply list at the end.


I chose Tags in a Box Display for my project.


Each piece was gessoed in black...


Or white...


Or a coat of iridescent medium mixed with acrylic medium...


Here are the wings closer...


(Do yourself a favor and remove any lingering bits from the holes before covering it in medium.)


Some unbleached titanium for the dressforms...


Next I added some rust paint over the vanilla doily edges and cut to fit in the shape of a corset.


And some copper for the beautiful banner...
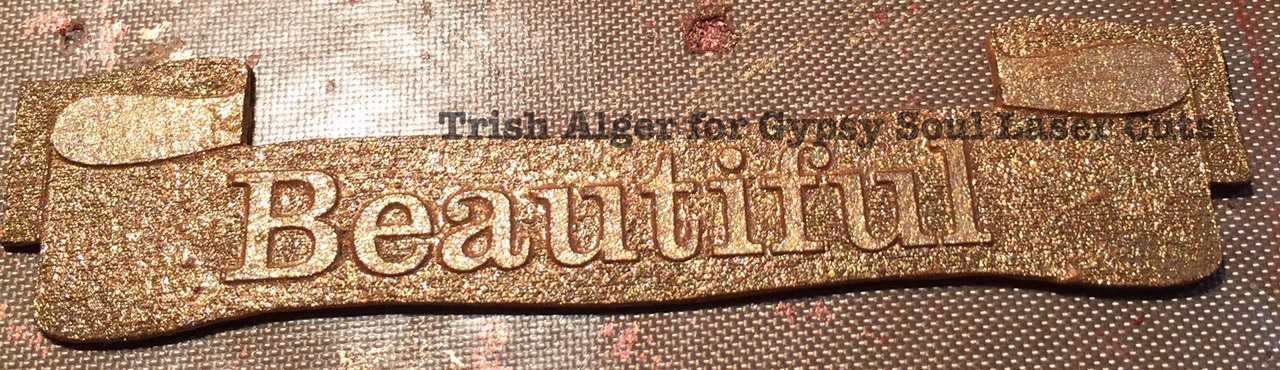


Then a bit of unbleached titanium over the letters...


A closer view...


Time to mix paint with acrylic medium and add some color...


Mixtures...


Black gessoed tag, painted in a leather color...


White gessoed tag, painted in another leather tone...


I printed the Pocket Pages sentiments onto the vanilla linen paper and trimmed to allow six for the backs of the tags in the box. They were adhered with the acrylic medium.


The inside of the box were gessoed black. The outside was painted with copper and the corset images (printed on vanilla linen paper) were adhered with acrylic medium. Doily edges were deconstructed to adhere with acrylic medium around the edges like a frame.


The gear sheet, painted with rust, copper, and black...


A second view...


And a third view...


Here are the individual tags completed:


Tag 1...


Tag 2...


Tag 3...


Tag 4...


Tag 5...


Tag 6...


And the tag for the front of the box...


Here is the entire box filled with the completed tags:


I realized as I assembled the completed sides for box that I needed to be extra aware of the materials in the tab areas. That includes paper, paint, and mediums. Lots of sanding otherwise.


Well, I had a lot of fun and it made me happy. What happiness are you creating today? Please let us know you were here and what you thought of my box of tags.

Ciao for now,

-Trish Alger
justchickenscratch.com


My ingredient list:

GSLCuts:
Gears Border and Corners (Special Order)

Other Supplies:
Liquitex 
-Black Gesso
-Basic Burnt Sienna
-Gloss Acrylic Medium and Varnish
-Heavy Body Acrylic Unbleached Titanium 
Golden Paints
-Fluid Acrylic Burnt Sienna
-Glaze Metallic Copper Light
Martha Stewart
-Metallic Acrylic Rust, Gloss Black, and Copper
-White Gesso
AlteredPages.com
-Victorian Edges Rubber Stamp
-Steampunk and Pocket Pages digital images
Eclectic Products
-E6000
Stewart Superior
-Palette Hybrid Inkpad Burnt Sienna
Stampin' Up
-Waffle Paper Brown
Winsor & Newton
-Iridescent Medium 
Vanilla linen paper 
Historical images free of copywrite
Assorted Ephemera


Wednesday, February 3, 2016

Love Never Dies

Not everyone is enamored of Valentine's Day.
So, for those of you with a great antipathy to the chubby purveyor of love, Cupid; here is my tongue-in-cheek diorama for you:


Have fun reading through the steps; there is a supply list at the end.

I chose this sturdy and versatile
 ATC Shrine- Wrought Iron from 
Gypsy Soul Laser Cuts.  

I needed to see if my parts would fit:

I had a plastic skeleton left from Halloween decorations that fit just right...well, minus 2 limbs.


Here is the shrine in exploded view:


I decided to use black gesso on each piece.


Everything gets a second coat:


Now for some texture:

The inside back panel gets fiber paste. I just kept thinking about rotting clothing, etc...


Now the side panels:

This modeling paste is considerably stiffer and spreads on nicely.


You can see the texture in this closer view:


Let's not forget the gate door:

I barely scraped the paste in places.


While this dries, lets back foil the 


It looks lovely:


While we are at it, let's make a foil back for the Wings  


Here it is under the wings:


Now the wings need some treatment:

I put a light coat of glaze over the wings to hold the soft glitter.


While the wings dry let's see how the box shrine will look:

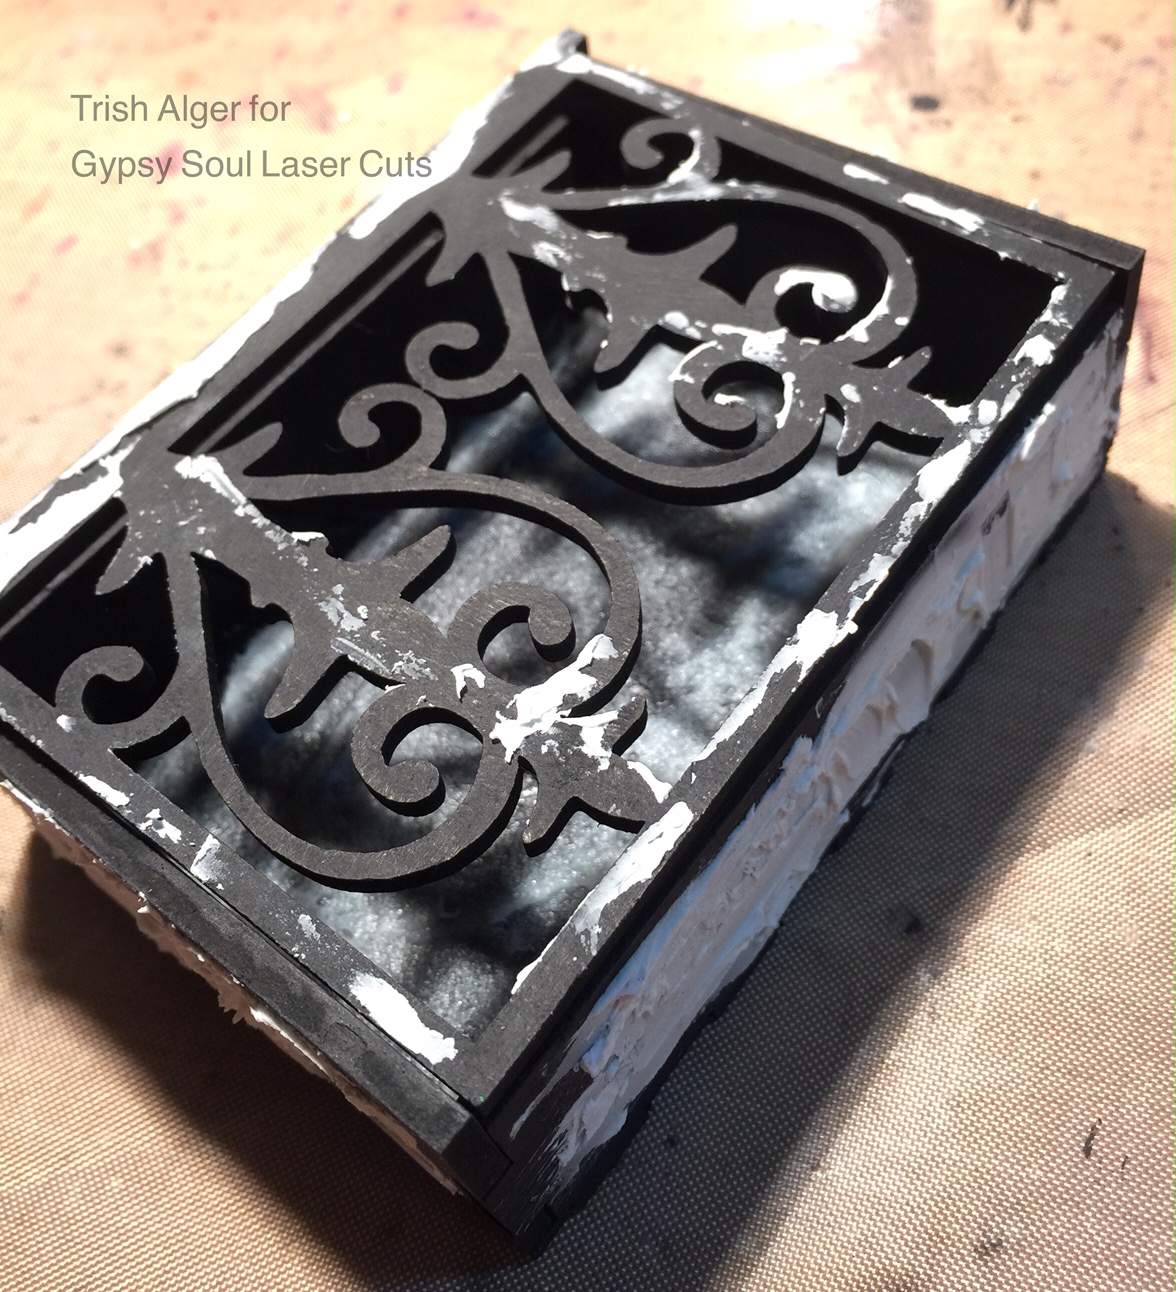
Remember to keep the product away from the tab areas. I want it to fit.  The gesso did make the fit a little snugger. Didn't have to force it at all.


It looked so beautiful, I had to take a closer look:


Now for my creepy, crypt patina:

I used 4 separate colors to achieve what I was after.


The back panel with fiber paste gets the treatment first:


The first 4 colors:

In this order--Mud Puddle, Terra Cotta, Raw Sienna, then Navy Blue.


The sides and gate as well:


You can see the contrast in the texture as black gesso is carefully sponged on in places:


I added an antique varnish when the 4 layers dried:


Let's not forget the wrought iron gate:


We are making some progress. 

I made sure to keep the plugs in through the entire process. (The panels with the plugs hold the gate). 


Let's attach the sign to the Victorian Corner


Here it is together with the sign attached:

I mixed together a few more paints to add a lighter moss color sponged on the outside a few places:


My shrine resident (AKA Mr. Skeleton), needed to pledge his undying (Haha) devotion with a boing-boing heart.

Here's the Scalloped Heart: 


Add a spring inside a broken ribcage:


My love of glitter glue is evident in the heart eyes and the border around the scalloped heart.

My crypt resident needs to be attached to the bottom panel:

I know it looks bad...


Then the wings and red foil backing:

I'm really starting to feel bad about this guy.


Let's put the last panel in and add some glue gun cobwebs:


Here is your shrine to a humorous, macabre Valentine's Day:


I had so much fun creating my fun 
Love Never Dies.

I'd love to hear if you make something similar. Please leave a message on the blog. 

Ciao for now,
-Trish

Here is my ingredient list:
-- Love sign  
-- Wings  

Other Products Used:
Kaisercraft--
-- Mud Puddle, Terra Cotta, Raw Sienna, & Navy Blue, Cool Grey, Grass Green.  
Jaquard
--Lumiere, Crimson
Martha Stewart
--Black
AlteredPages,com
--Darice Red Foil Tape
Eclectic Products
--E6000
Faber Castell
--Glaze
Martha Stewart
--Tinsel Glitter, Crystal

Delta Creamcoat
--Instant Age Varnish
Liquitex
--Black Gesso
--Blended Fibers
--Modeling Paste
Ranger
--Stickles, red

Friday, January 29, 2016

Lighten Up and Play!!


(Comparison photos of the Master vs the Novice)

Here's hoping we can create a bit of thought-provoking discussion...

My last 2 blogposts with AlteredPages.com:

Bag and Tag Your Honey  


The projects I submitted were simplistic in nature.
These were not wow projects.  
This was intentional. I didn't run out of time or ideas. 
I actually spent many hours in plotting and testing.
You see, I am on a mission. A mission that allows everyone--
EVERYONE
the chance to play, to create, to explore, to discover.
To discover the freedom in creativity.

Please allow me to explain what has fired me up this year.
In this Facebook post by Becky Higgins LLC I read dozens of comments to her post and wanted to cry, to cheer, and assist in my own small way. The post mirrored some of my own thoughts and emotions regarding scrapbooking, crafting, and the arts in general.
Take a moment to skim her post and a few comments. 
I'll wait here while you do. Then we'll continue...

What does this post on scrapbooking have to do with my photo of the Versailles ceiling and my mixed-media canvas? 
And why did I throw in my simple projects?
First a statement from our blogger:

"Lighten Up People"!!

Our crafty projects, our mixed-media art, our graphic illustrations, and our fine art, oil-painted canvases had better be founded in play.

My 1st free-spirited mixed-media canvas, My Crush, was not intended to be a masterpiece. It was a lesson in play for me. Using only what was already at hand, on my worktable.
My Crush is not a Versailles ceiling. This gorgeously rendered ceiling that Marie-Antoinette, Queen of France, might have walked under. Craftsmanship that she might have glanced at or ignored as just an adornment to her station in life.  Just think of the years of study and practice to become that proficient. 
Does my humble artwork deserve to sit next to such magnificence?
Of course it does.
Not as an example of perfect attainment, but as an expression of who I am, who I was at that moment. My Crush has been appreciated by many admirers and finally found a home with one of my favorite people. 
It has value. My play had value.

Now think of your favorite creative, artist, crafter, and/or artisan.
Focus on a particular work that you cannot get out of your mind.
Consider all of the attention, the accolades, the awards given them.
Does that make you jealous?  Good.

Years ago I read, studied, discarded, and rediscovered 
Julia Cameron's "The Artist's Way".  
I love this quote:
"Jealousy is always a mask for fear: fear that we aren't able to get what we want; frustration that somebody else seems to be getting what is rightfully ours even if we are too frightened to reach for it."
-Julia Cameron The Artist's Way 

I took this quote as permission to be envious; 
yet I was to examine why I may be jealous of what another has accomplished. How can I recreate what they did?
Don't worry about copying. Repeat after me:
"There is nothing new under the sun!"
We are able to give our own perspective, our own slant, but truly there is nothing undiscovered in the land of creativity. 
Just new ways of applying, of rendering, of presenting.

This is an impetus for exploration and growth for me. 
In my art, in my writing, in my play. That's right, my play.


Let's recap.
I am learning, exploring, playing in my creative endeavors.
You have permission to do the same.
Make mistakes, get messy, play.
You do NOT have to create a wow! 
Use what you have.
Just start...right now.
Hang the critics--especially the ones in your head.
Now share with others; perpetuate the cycle of play.

Ciao for now,
-Trish Alger


Sunday, January 17, 2016

Seize the Moment, Not Just the Day


(Ceiling mural at Chatsworth, Derbyshire UK)

Does anyone else keep hitting the snooze when your alarm goes off? Yeah, me too. Not as much as when I was younger since I have a limited amount of hours left to live; so why spend them laying in bed? Hey, I have an art studio for a reason.

So anyhoo, I realized I have been hitting the proverbial snooze button on my own dang life. Oh, there are a few things I have been compelled to get out of bed and take care of. I made a point to work in my studio daily if possible. My current pieces show the difference. I promised myself I would write daily this year, in any form. I believe I am keeping my promise. So where is the snooze?

My health is at the top of the list. I have made half-hearted stabs over the years, some with success, yet not in a way I needed. I have allowed a lifetime of insecurity to dictate my choices. No more!! I decide how I will feel. I decide how I will look. I decide what I will do with the moments I have left. 

No more snooze button on my own life. Along with the word I have chosen for 2016, Unleashed, I am going to seize the day...no, the moment. For me.

Ciao for now,
-Trish